Stairs turn calm exits into chaos. I have seen panic, falls, and stalled evacuations. An evacuation chair with tracks and brakes turns that risk into a controlled descent.
Buy evacuation chairs to move non-ambulatory people down stairs when elevators fail. Tracks and reliable braking control speed, protect the helper, and fit users safely. Stock two models and bundle simple training.
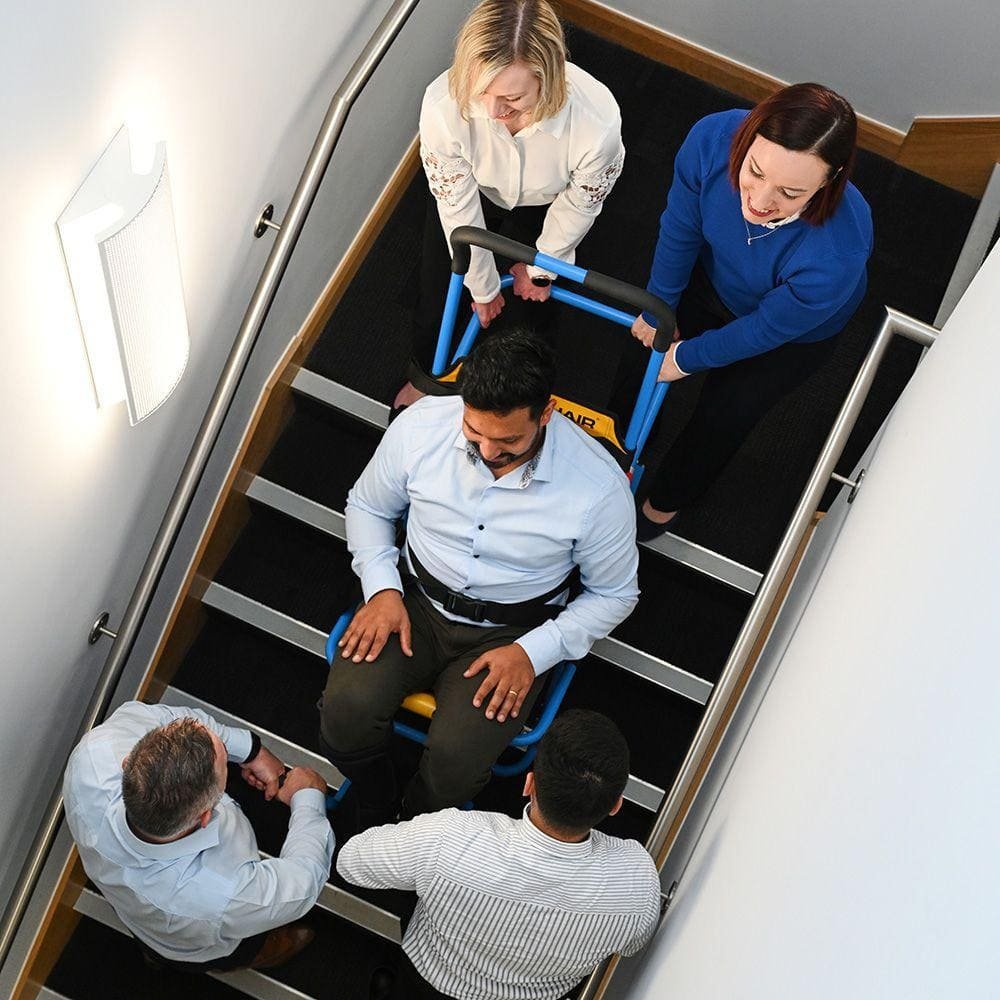
I help distributors choose and roll out evacuation chairs. I see the same doubts every month. People ask if a wheelchair can go downstairs. People ask if one chair can handle all buildings. I have watched teams try. I have seen slips on metal steps and scary speed on steep stairs. The fix is clear. Set a baseline. Use tracks and brakes. Then match models to your building type and staff skill. If you want a simple path, read on. I will show what works in the field, not just in a brochure.
What makes an evacuation chair different from other chairs?
Elevator outages expose a hard truth. Most chairs stop at the stair edge. Helpers then improvise. I have seen lifts by hand, and I have seen near misses. That risk is avoidable.
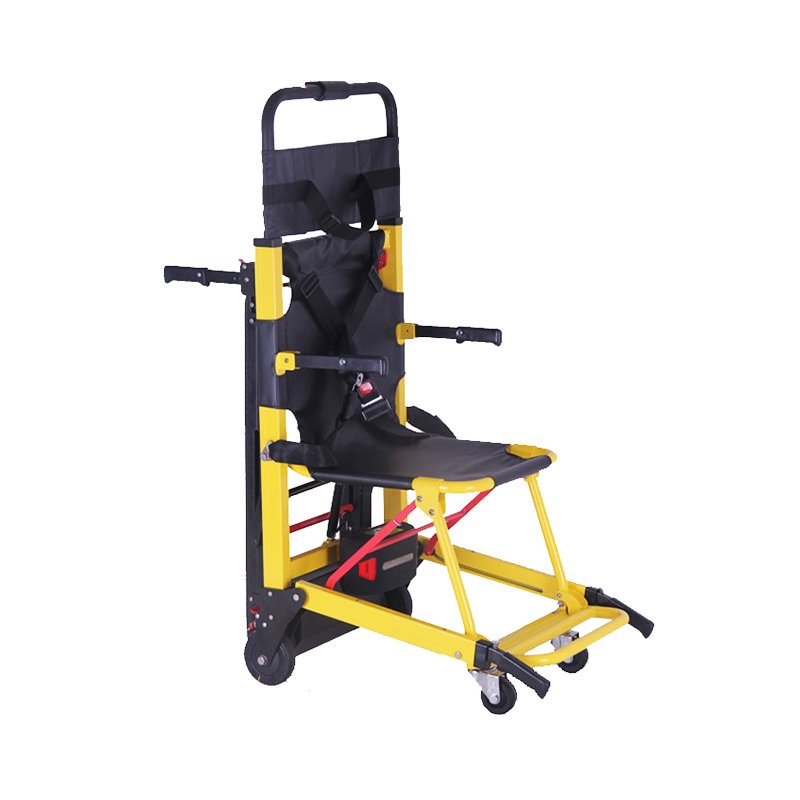
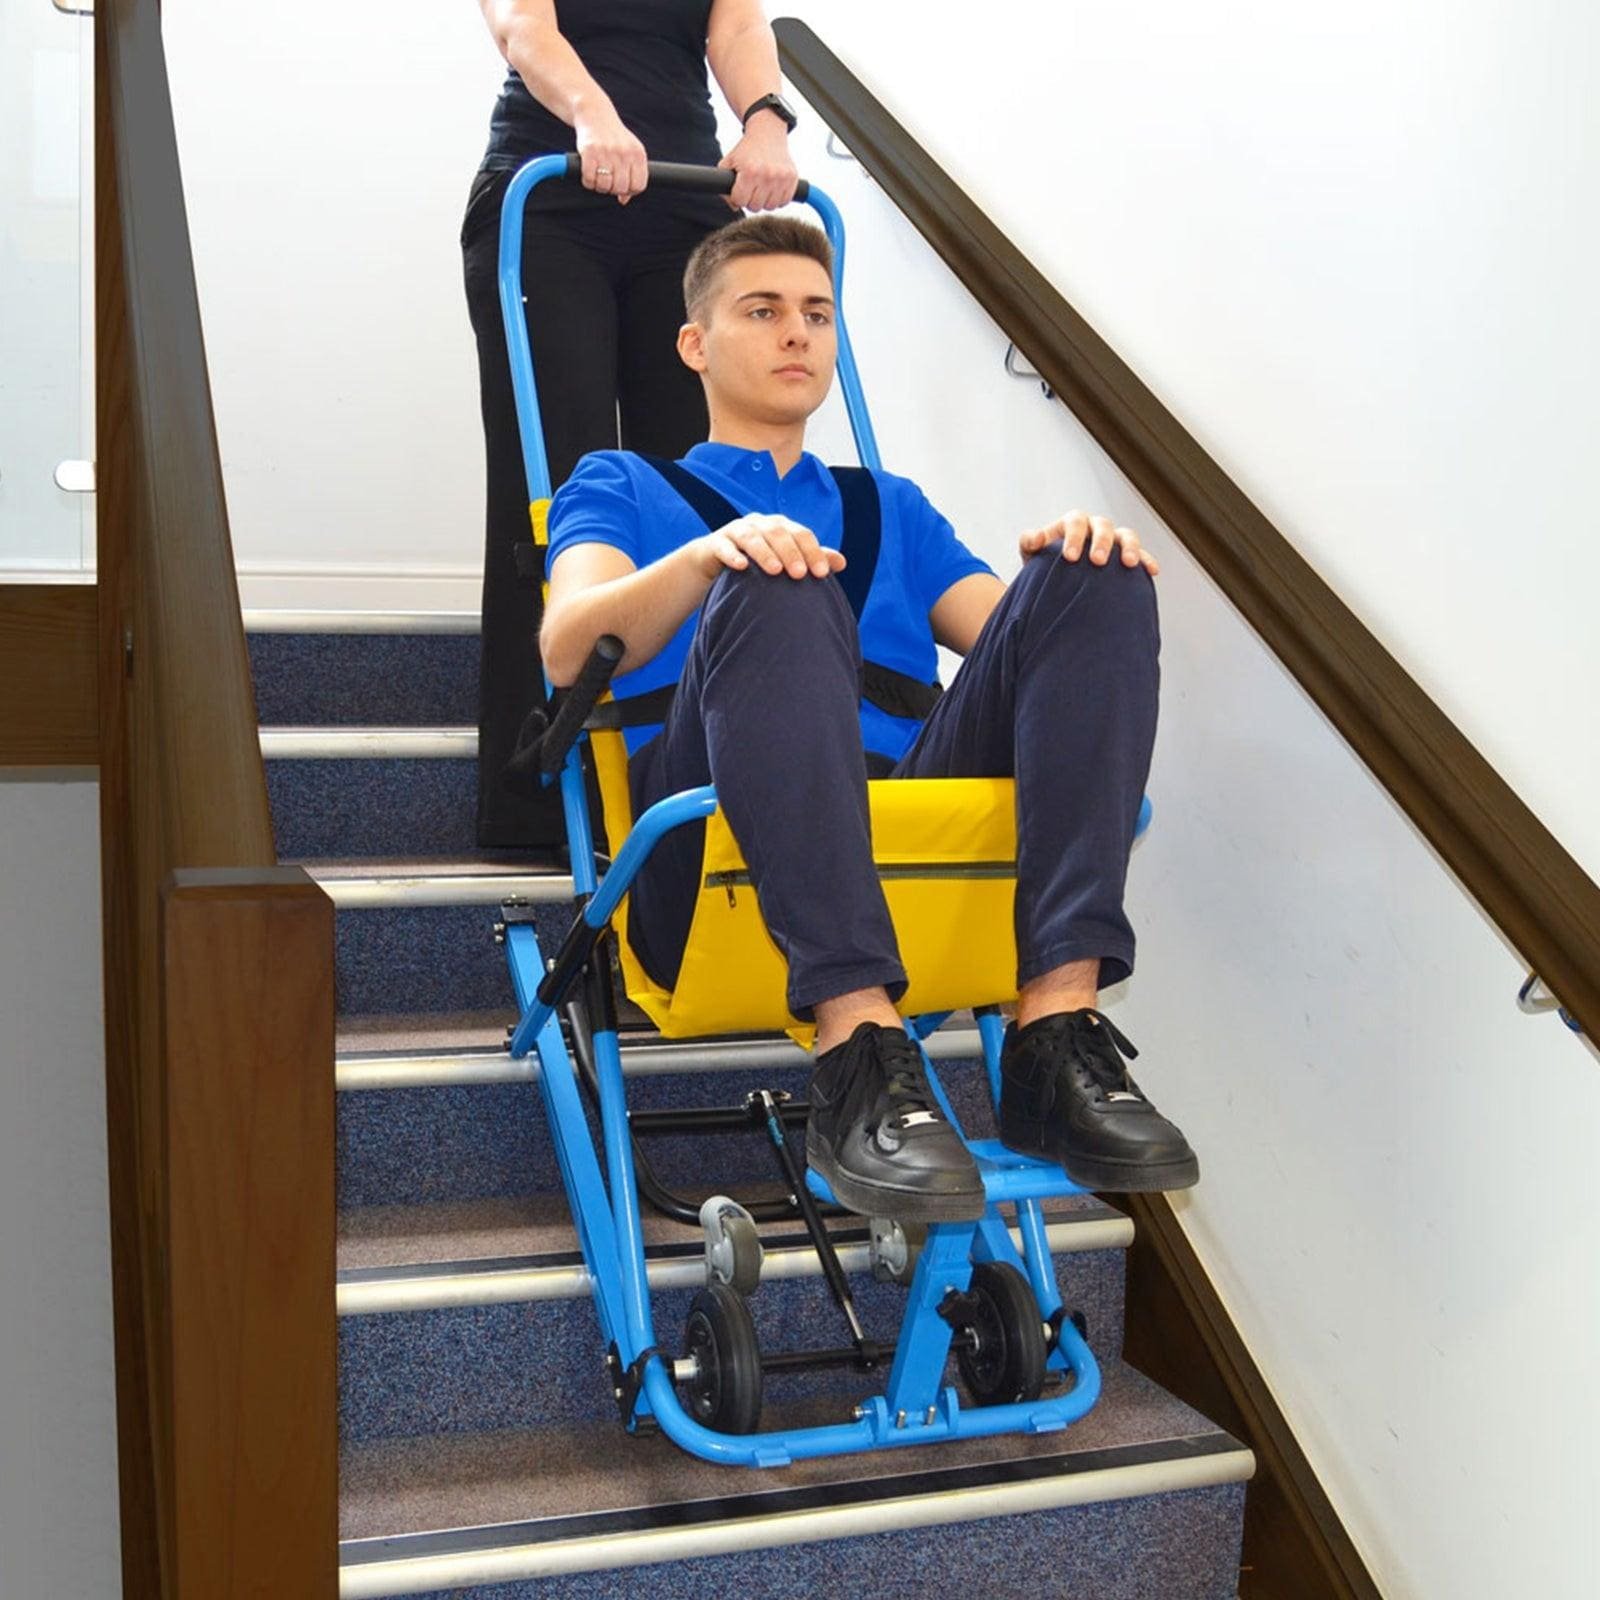
An evacuation chair is built for stairs.1 It uses tracks to grip steps and brakes to control speed. It protects the rider and the helper. Wheelchairs and other chairs are not for stair descent.
Why tracks and brakes matter most
I draw a hard line here because I have seen the cost of mixing tools. A wheelchair cannot manage stairs. A transport chair cannot do it either. They lack tracks. They lack brakes for stairs. When a helper tips a wheelchair to “bump” steps, the chair can surge. The helper tires fast. Hands slip. The rider sways. All of this stacks risk. An evacuation chair solves the core problem. Tracks spread the load and grip the edge of each step.2 Brakes control the roll so speed stays steady.3 The helper guides, not fights gravity. This is not theory. I have seen clean descents on wet stone stairs after fire drills with a track chair. I advise buyers to inspect the track texture and brake design first. If both look weak, walk away.
| Feature | What it does | Risk reduced | Field cue I trust |
|---|---|---|---|
| Track texture | Grips stone/metal/wood | Speed surge and slip | Fingertip “sandpaper” feel, no glossy slick spots |
| Track width | Spreads load on steps | Edge bite and wobble | Sits flat on step, no rocking |
| Dual/assisted brakes | Controls descent | Runaway on steep stairs | Smooth squeeze, no grab or fade |
| Serviceable pads | Keeps braking consistent | Loss of control over time | Pads easy to inspect and swap |
How should I pick chairs by building type?
I used to think one chair could fit all sites. Then I watched night-shift nurses and office fire wardens use the same model. The gap was clear in minutes.
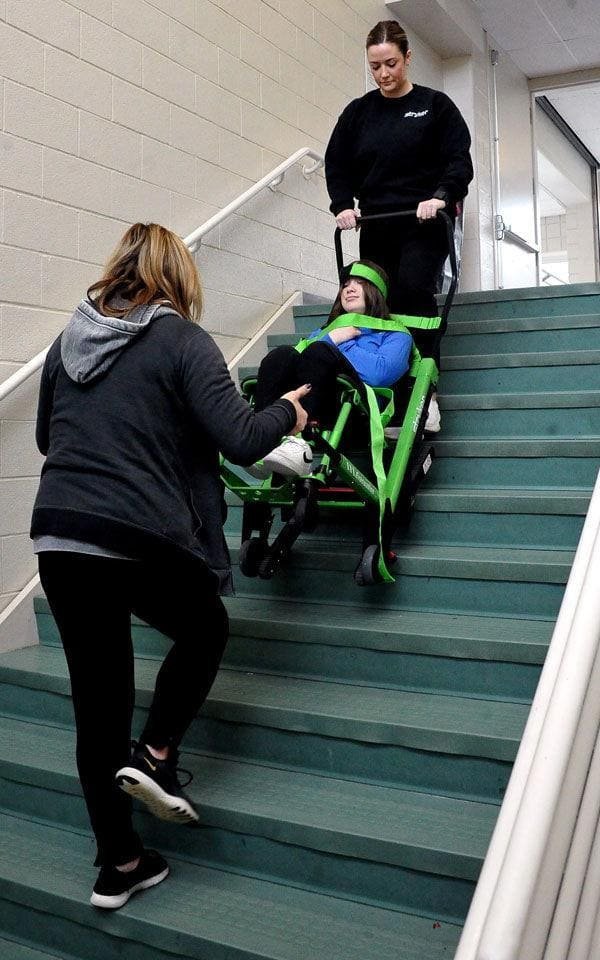
Pick by scenario. Hospitals need smooth, frequent use with fast training. High-rises need simple deployment and assisted braking for rare, high-stakes events.4 One model will not cover both with the same safety margin.
Match the chair to your real users and your stairs
In hospitals and elderly care, staff use the chair often. Riders are frail, larger, or both. Descents can be slow and careful. Shifts change. New staff join. So the chair must feel stable, seat must fit wide hips, and belts must hold shoulders, waist, and legs. Handles should adjust for tall and short staff. Training must be short and repeatable. In high-rise offices, use is rare but urgent. The power goes out. Elevators stop. Volunteer wardens must act with little time. Here I ask for intuitive setup, clear pictograms, and assisted braking. The chair must turn 90-degree landings without scraping walls. The frame should not flex on long runs of stairs. When I pair models to sites this way, misuse drops and confidence rises.
| Scenario | Key risks | Chair features to prefer | Training focus |
|---|---|---|---|
| Hospital/Elderly care | Frequent use, frail riders, staff turnover | Wide seat, multi-point belts, adjustable handles, smooth tracks | 10-minute drill per shift, belt routing, landing turns |
| High-rise office | Rare use, steep stairs, panic | Assisted braking, quick-deploy latch, clear labels | 5-minute video, 1-page card, monthly visual checks |
Which technical variables really reduce risk on stairs?
Specs can look the same on paper.5 I have watched buyers pick by price. Then they meet a metal stair or a steep flight. That is when weak specs show up.
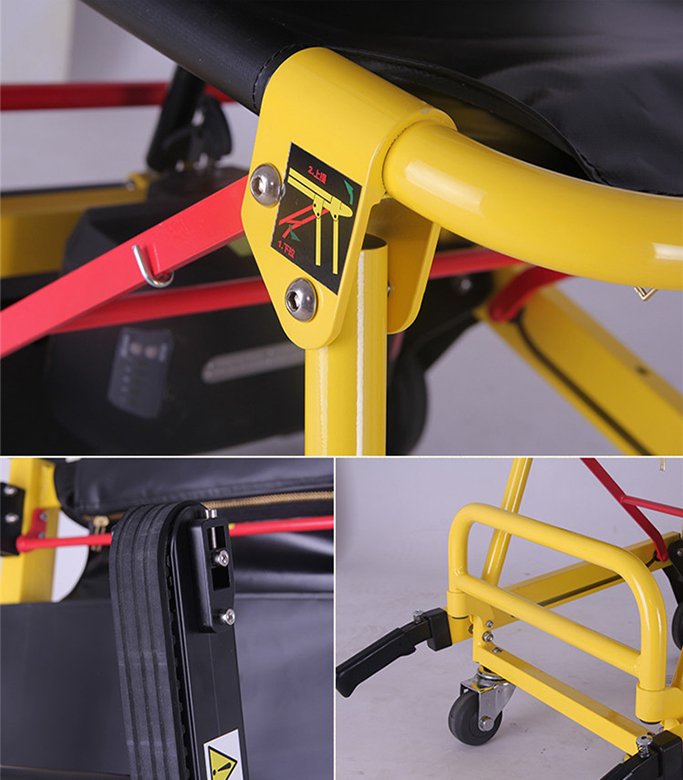
Focus on tracks, braking, and fit. Track texture and wear resistance prevent slip. Dual/assisted brakes control speed.6 Seat width and adjustable belts stabilize the rider in turns.7
Turn each spec into a field check you can do today
I keep my tests simple. For tracks, I do a glove test. I drag the track across a metal edge with a gloved hand. If it slides like plastic, I reject it. I also check wear. I ask for a used demo unit. If the track is bald in the center, grip will fade fast. For brakes, I do a “no-load roll” on a steep stair. I look for smooth, even control. If the brake grabs, the rider will feel jolts. If it fades, speed creeps up. I also ask if pads can be changed. For fit, I seat a big guy and a small grandparent. I adjust shoulder, waist, and leg belts. If I cannot get a snug, centered hold for both, I pass. If you need test data or materials info, ask the supplier for documents. Good ones have them available upon request.
| Variable | What to look for | Risk reduced | Quick field check |
|---|---|---|---|
| Track texture + wear | Textured, durable compound | Slip on stone/metal; speed surge | Glove drag on metal edge; inspect used demo |
| Braking design | Dual/assisted, serviceable pads | Runaway on steep stairs | Steep stair roll test; feel for smooth control |
| Seat width + frame | Adequate width, stiff frame | Rider tilt and wall strikes | Seat two body types; check frame flex |
| Belts (shoulder/waist/leg) | Adjustable, easy to route | Rider shift in turns | Time a full belt setup; aim under 30 seconds |
Why stock two SKUs and bundle training?
I used to push one “mid” chair for all. Returns rose. Complaints rose. Then I split into two tiers and added a training bundle. Calls dropped.
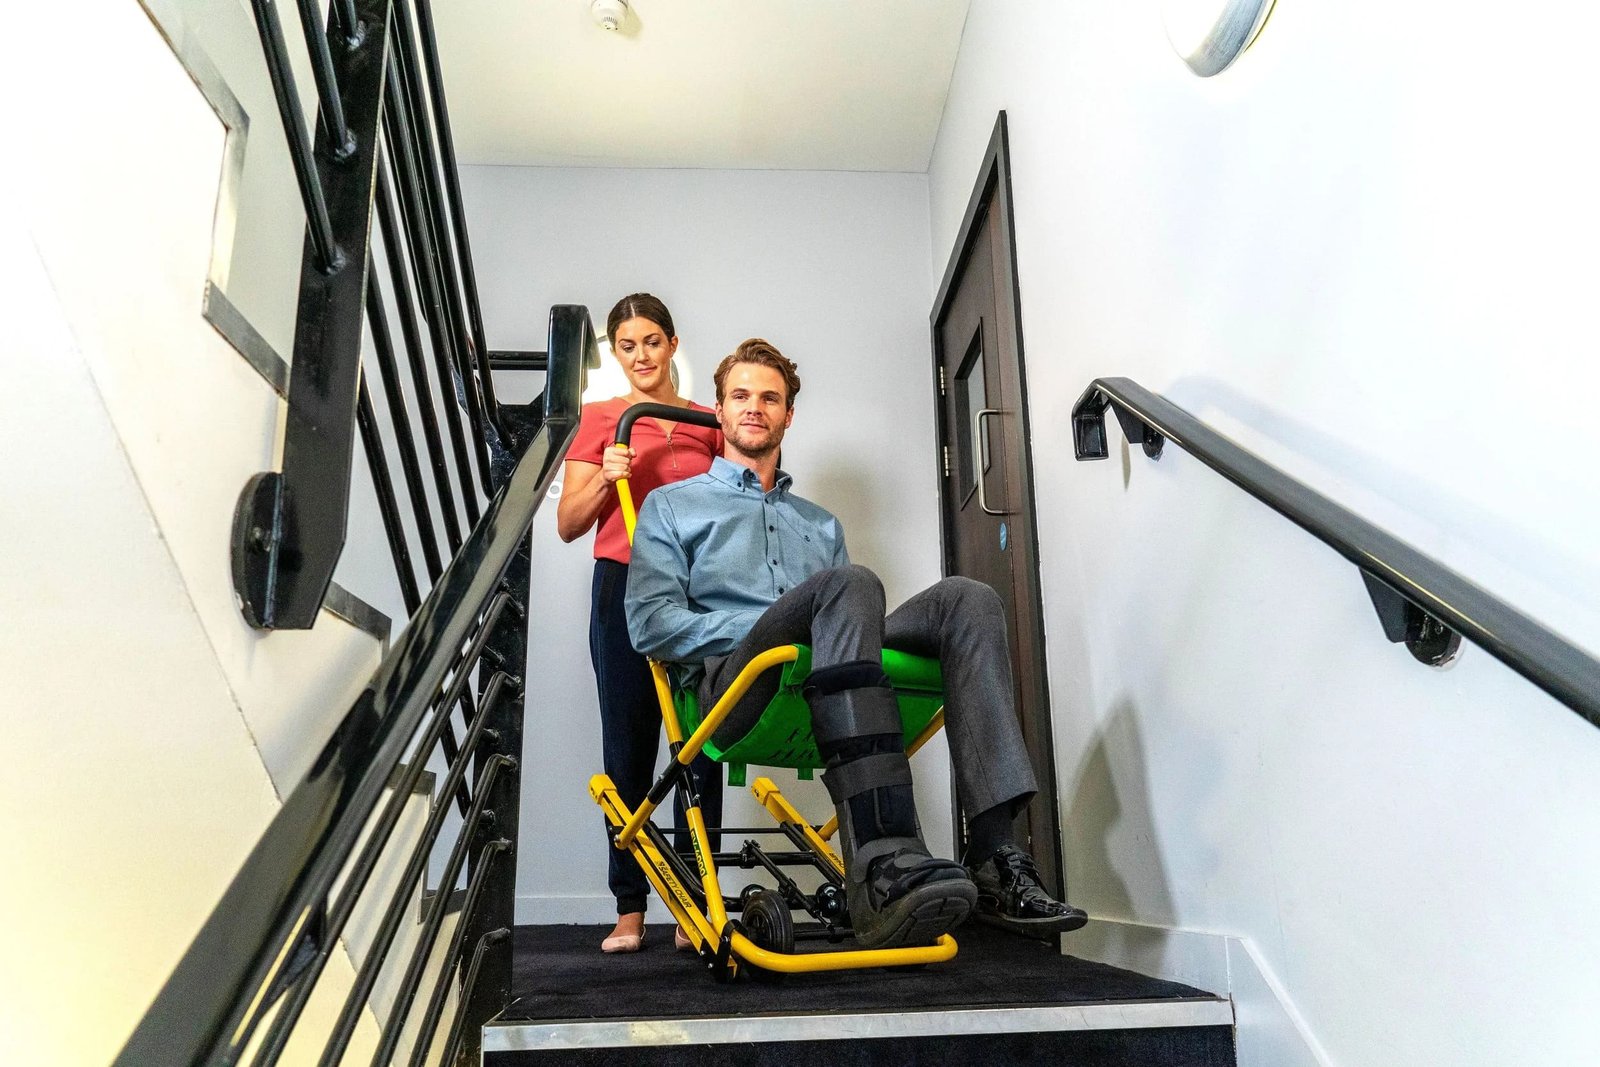
Stock a basic and an advanced manual track chair.8 Cover cost-sensitive and high-demand sites. Bundle a short video, a quick card, an inspection checklist, and a posted SOP.9 Users deploy in under a minute.
A simple SKU plan that boosts readiness and lowers returns
Two SKUs hit most needs. The basic model covers budget sites with simple stairs and lighter riders. It includes solid tracks, manual brakes, and standard belts. The advanced model serves hospitals and high-rises. It adds assisted braking, wider seat options, and better ergonomics. I package both with the same training kit. The kit has a 3–5 minute video, a one-page quick card on the chair, a monthly visual inspection checklist, and a wall-posted SOP for stair descent and landings. I also add a 15-minute drill plan for site leads. This bundle cuts misuse and fear. It also reduces liability for your buyer. It shows you care about real use, not just sales.
| Tier | Target clients | Key features | Price band (relative) |
|---|---|---|---|
| Basic Manual Track | Budget sites, simple stairs | Textured tracks, manual brakes, standard belts | $ |
| Advanced Manual Track | Hospitals, high-rises, steep/long stairs | Assisted braking, adjustable handles, wide seat, enhanced belts | $$–$$$ |
Training bundle contents: 3–5 min video, 1-page quick card, monthly inspection checklist, posted SOP, and a 15-minute drill plan.
What limits single-operator use, and how do I set safe rules?
I hear this line a lot: “Can one person use it?” Sometimes yes. Sometimes no. The wrong answer creates false confidence and real harm.
Set rules by stair angle, rider weight, and training level.10 On steep stairs, heavy riders need two trained helpers. Post these rules on the chair and in the SOP. Test them in drills.
Build a simple policy that your staff can follow under stress
I never promise single-operator safety without conditions. Gravity does not care about promises. I start with stair angle. If stairs are steep or uneven, I plan for two helpers. I set a weight threshold too. If the rider is heavy, I add a second helper at the lower handle. Training matters. A trained helper can manage more. An untrained helper should not act alone. I write the rule on a bright label on the chair. I also add it to the posted SOP. Then I drill it. This avoids panic debates during an alarm. The table below is a clear start. Adjust it after your test runs. Keep it simple. Keep it visible.
| Condition | Helper count | Notes |
|---|---|---|
| Stair angle ≤ 30°, rider ≤ 80 kg, trained helper | 1 | Practice monthly; use assisted brake if available |
| Stair angle 30–35°, rider 80–110 kg, trained helper | 2 | One on upper handle, one on lower handle |
| Stair angle > 35° or uneven, any rider | 2+ | Add spotter at landings; slow, steady pace |
| Untrained helper, any angle | 2+ | Do not deploy alone; follow quick card and SOP |
How do I prepare landings and tight turns without damage or drama?
Turns look easy on paper. In drills, I see wall scrapes, halts, and fear. This is where fit and technique meet reality.
Plan for 90-degree landings.11 Choose a chair with stable tracks, good belt geometry, and adjustable handles. Teach a stop, pivot, and align method. Practice with cones on the landing.
A simple landing playbook that works in real buildings
Most buildings have tight landings. The trick is control and space. I mark a cone path on the landing during drills. I teach a stop, belt-check, and pivot in place. The helper lowers the rear handle to gain leverage. The second helper guides the nose clear of the inner wall. Belts keep the rider centered while the chair turns. Tracks must stay flat on the step edge when exiting and re-entering the stair. If the frame is too narrow or the seat is too small, the rider will tilt during the turn. This scares helpers. It also bumps walls. I pick chairs with stiff frames and adjustable handles. I train a clean pivot. I also tell teams to test with a heavy dummy first. After two runs, confidence rises and speed drops to a steady, safe pace.
| Landing risk | Cause | Chair feature or technique | Field fix |
|---|---|---|---|
| Wall scrape | Narrow turn, poor leverage | Adjustable handles, stiff frame | Lower rear handle, slow pivot |
| Rider sway | Loose belts, small seat | Multi-point belts, wider seat | Re-tighten belts before the turn |
| Track slip | Smooth step edge | Textured tracks, assisted brake | Pause, re-align, apply brake smoothly |
Conclusion
Evacuation chairs with tracks and brakes make stair descent controllable. Pick by scenario. Check the real variables. Stock two SKUs. Bundle training. Set clear operator rules.
This source explains the design features of evacuation chairs, including their specialized tracks and braking systems for stair descent. ↩
This source describes how track systems in evacuation chairs distribute weight and provide stability on stairs. ↩
This source explains the role of braking systems in maintaining controlled descent speeds in evacuation chairs. ↩
This source outlines the features needed for evacuation chairs in high-rise buildings, including easy deployment and assisted braking. ↩
This source highlights the importance of evaluating evacuation chair specifications beyond their appearance in documentation. ↩
This source explains how dual or assisted braking systems improve safety by controlling descent speed. ↩
This source discusses how seat width and adjustable belts help stabilize the rider during stair descent. ↩
This source recommends offering multiple evacuation chair models to meet different user needs and building requirements. ↩
This source emphasizes the importance of training materials such as videos, quick cards, and SOPs for evacuation chair use. ↩
This source outlines factors such as stair angle, rider weight, and training level that influence safe evacuation chair use. ↩
This source discusses techniques and chair features that support safe navigation of 90-degree landings during stair descent. ↩