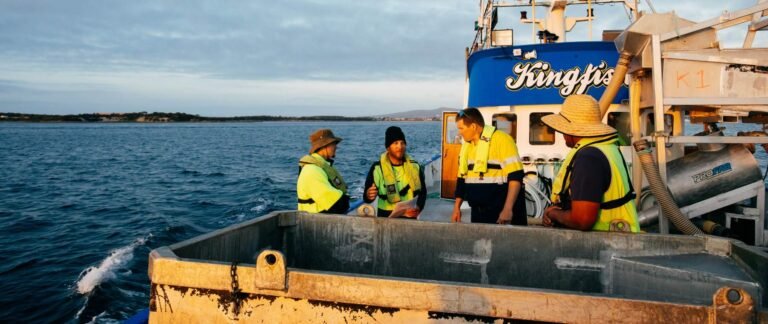
After years of looking at life jackets as both safety equipment and manufactured products, I have learned one lesson that surprises many people: the cleanest jacket on the rack is not always the safest one. A weak strap anchor can hide beneath perfect-looking fabric. An inflatable model can look brand new while its CO2 cylinder or inflator is not ready. Even a fully serviceable jacket becomes the wrong jacket when it does not fit the wearer or the activity.
That is why I never judge a life jacket with one quick glance. I use the same simple sequence every time: read it, look at it, feel it, fasten it, and fit it.
To inspect a life jacket before use, first identify whether it is foam-filled, inflatable, or hybrid. Check the label, outer cover, flotation material, seams, straps, buckles, and fitted safety features. Operate every closure and confirm the fit on the intended wearer. On an inflatable model, also inspect the status indicator, CO2 cylinder, inflation mechanism, pull tab, oral tube, and service record. If a critical part is damaged, missing, unreliable, or impossible to verify, take the jacket out of service.
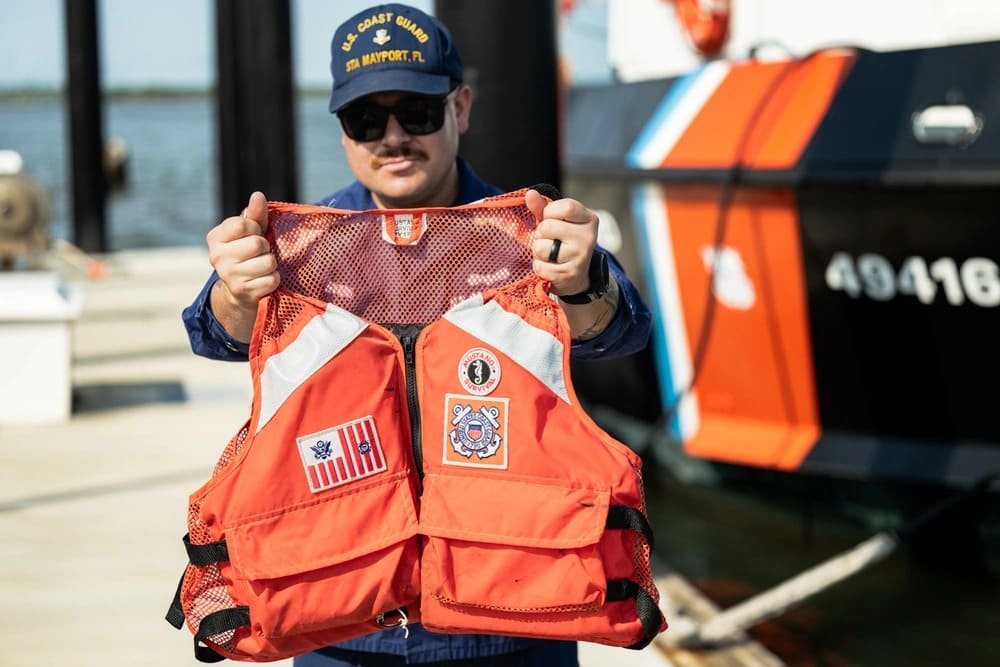
This is a practical pre-use check, not a laboratory test or a replacement for the manual. The instructions for the exact model—and the rules for the vessel, activity, and market—always take priority.
What is my 60-second life jacket inspection routine?
When several jackets are waiting on a rack, it is easy to overcomplicate the job. I keep the first pass short enough that people will actually do it.
- Read: Can I identify the model, size, approval, and intended use?
- Look: Are there tears, open seams, stains, mildew, fading, or missing parts?
- Feel: Is the foam evenly shaped, or does it feel crushed, hard, soft, or lumpy?
- Fasten: Do all buckles, zippers, straps, and adjusters work and stay secure?
- Check the system: If it is inflatable, is the cylinder installed and the inflator showing the correct ready status?
- Fit: Does it sit snugly on the actual wearer without riding toward the face?
- Decide: Would I be comfortable handing this jacket to someone I care about?
That last question is not a technical standard, but it is a useful discipline. If I am already trying to explain away a cracked buckle or a partly detached strap, the jacket belongs in the inspection area—not on a person.
Why can a good-looking life jacket still fail an inspection?
Most damage does not announce itself dramatically. In real inspections, I am often looking for small clues:
- A strap that has started pulling away from its stitch box.
- Foam that has stayed permanently flattened after poor storage.
- A buckle that clicks but opens with very little pressure.
- A label so faded that nobody can confirm the size or approved use.
- A clean outer cover hiding an inflatable mechanism that is not armed.
Sunlight, salt water, moisture, fuel, oil, chemicals, compression, and rough handling all leave different signs. Transport Canada’s maintenance guidance recommends checking the cover, stitching, mildew, leaks, straps, and hardened flotation material.1
I pay extra attention to any jacket that has been stored wet, used as a cushion, trapped under heavy equipment, exposed to chemicals, inflated, repaired, or returned after an incident. None of these automatically proves that the jacket has failed, but each one gives me a reason to slow down.
First, what type of life jacket am I inspecting?
This is where many general checklists go wrong. They describe every life jacket as if it were the same orange foam vest. It is not.
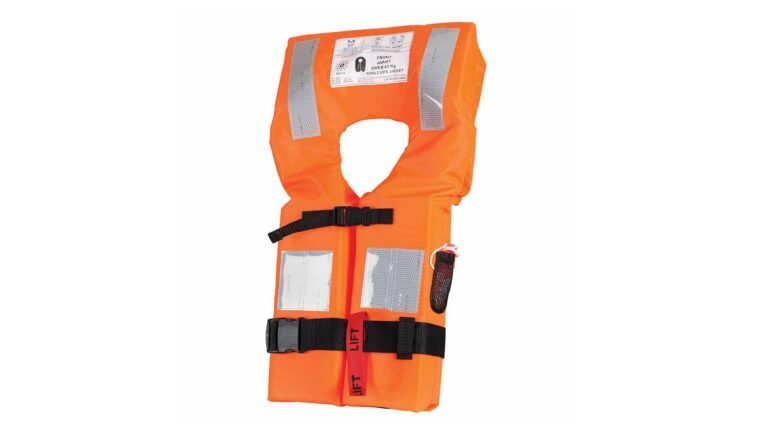
Inherently buoyant or foam life jackets
These jackets float because buoyant material is already built into the body. There is no inflation step. My attention goes to the foam, cover, seams, straps, closures, label, and fit.
Inflatable life jackets
An inflatable jacket is more like a small safety system than a simple vest. It depends on a sound bladder, the correct gas cylinder, a working inflator, and proper packing. Its compact appearance is useful, but it also means several critical parts can be hidden inside the cover.
Hybrid life jackets
A hybrid combines built-in buoyancy with an inflatable chamber. I complete both sets of checks. Inspecting only the foam or only the inflator leaves half the product unexamined.
What do I read on the life jacket label?
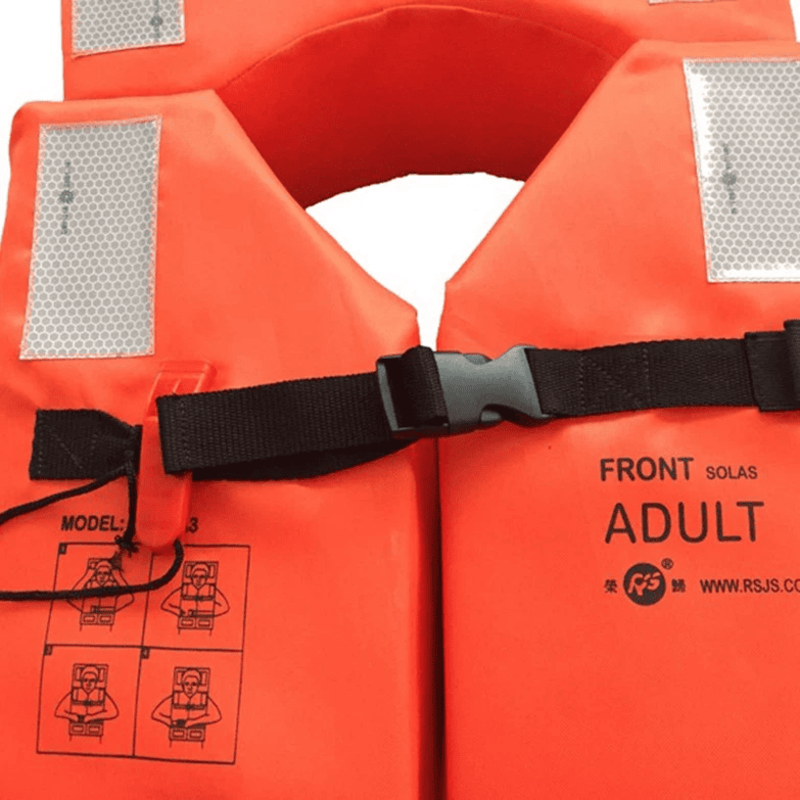
I like to check the label early. There is little value in spending five minutes examining a jacket only to discover that it is the wrong size or not approved for the intended activity.
I look for:
- Manufacturer and model identification.
- Size, chest range, weight range, or height range, as applicable.
- Performance level, buoyancy classification, and turning information.
- Approval markings and applicable standards.
- Permitted and prohibited activities.
- Donning, care, maintenance, and servicing instructions.
- Restrictions for children, body weight, personal watercraft, or towed sports.
- Whether an inflatable device must be worn to count as required equipment.
The U.S. Coast Guard’s federal guide shows how life jacket labels communicate size, performance, turning ability, warnings, approval, and activity restrictions.2
If the label is missing or unreadable, I do not guess. A jacket without identifiable limits is like medicine without a label: it may still exist physically, but the information needed to use it responsibly has disappeared.
How do I inspect a foam life jacket?
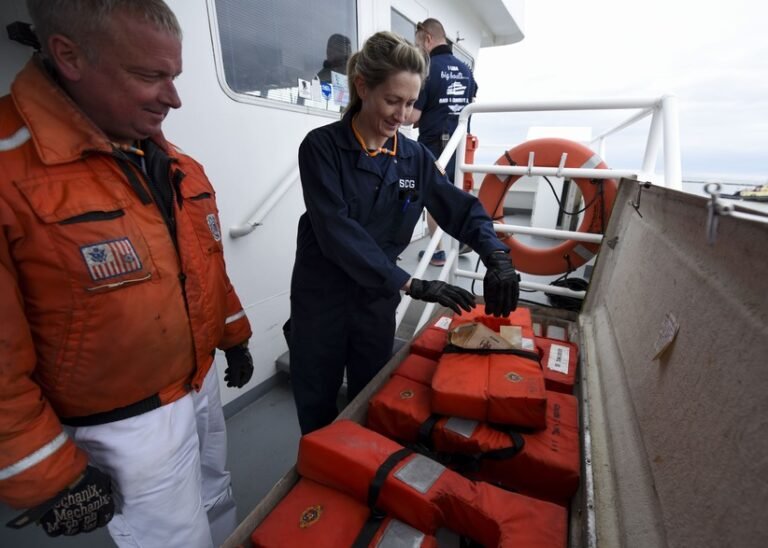
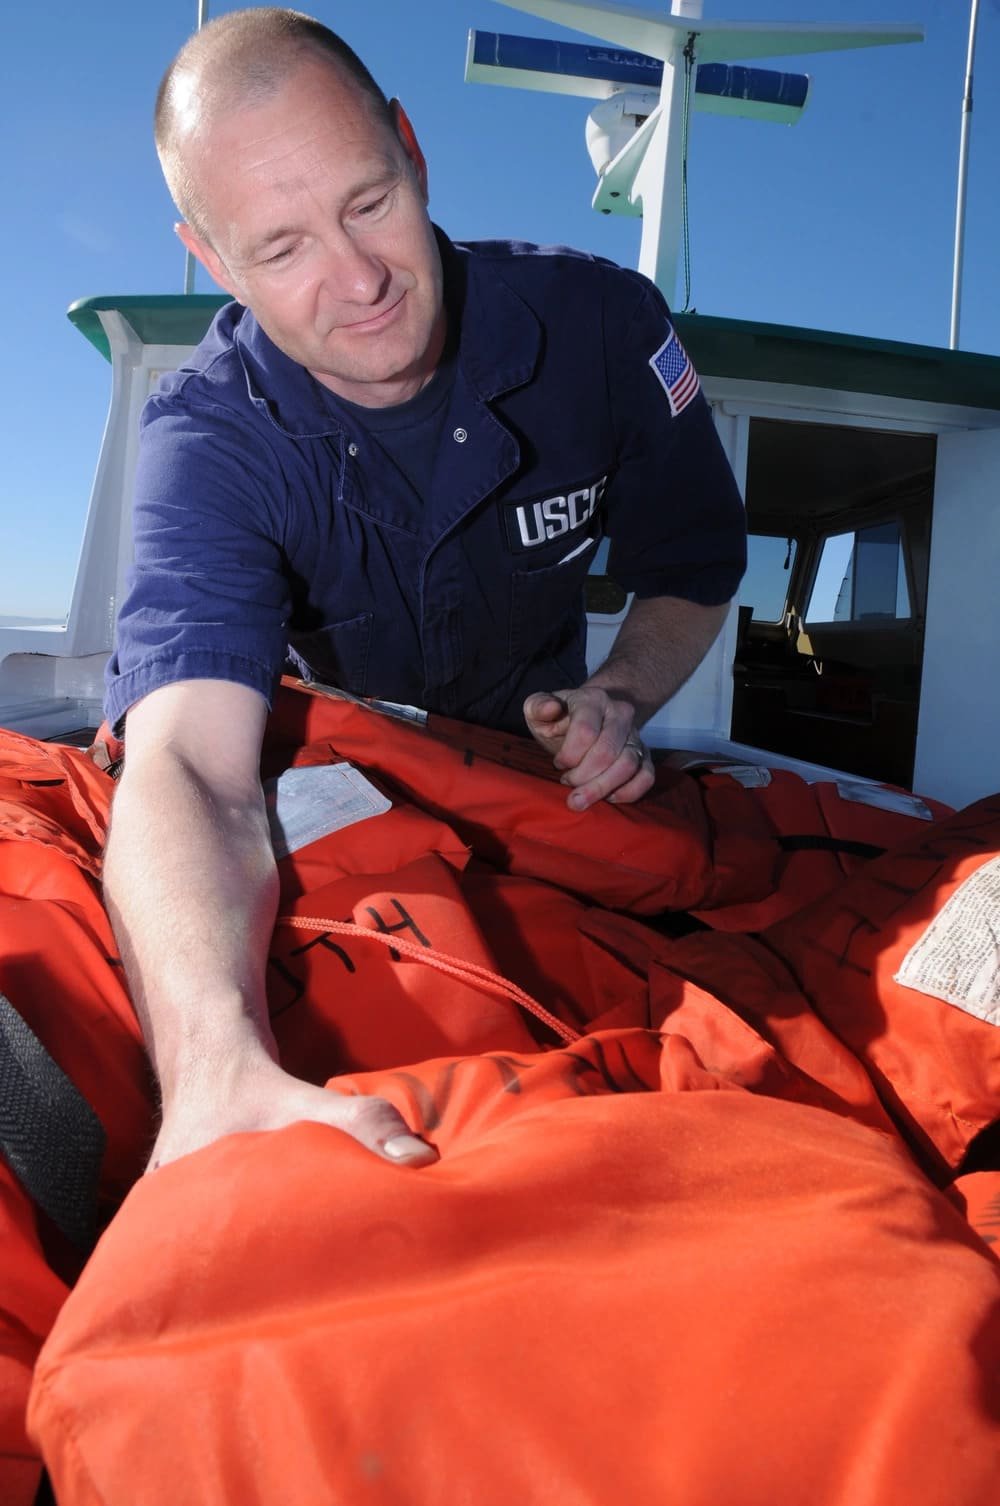
I lay the jacket flat in good light and work from top to bottom. Then I turn it over and repeat the check. Arm openings, neck areas, lower edges, and the fabric beneath straps deserve special attention because damage often hides there.
My practical foam-jacket checklist
| Area | What catches my attention | What I do next |
|---|---|---|
| Outer cover | Cuts, punctures, burns, severe abrasion, open panels, or exposed foam | Remove it from normal use if the structure or foam may be affected |
| Seams | Missing stitches, broken rows, pulled fabric, or a seam beginning to open | Isolate it when the seam is structural or the effect is uncertain |
| Flotation material | Crushing, hard spots, unusual softness, lumps, permanent folds, crumbling, or waterlogging | Compare it with the manufacturer’s instructions; do not guess at buoyancy |
| Buckles and zippers | Cracks, distortion, corrosion, missing pieces, or unreliable engagement | Stop using it if the jacket cannot be secured properly |
| Straps and webbing | Cuts, severe fraying, melted fibers, glazing, or a pulled anchor | Remove it from use if retention is affected |
| Reflective material | Peeling, missing, obscured, or badly damaged areas | Follow the approved replacement process when the feature is required |
| Whistle, light, and fittings | Missing, loose, expired, discharged, or damaged parts | Replace or service them according to the instructions and applicable rules |
| Label | Missing or unreadable size, model, approval, or limitations | Set the jacket aside if suitability cannot be confirmed |
| Cleanliness | Fuel, oil, chemicals, mildew, persistent dampness, or unusual odor | Isolate it and follow the approved cleaning or evaluation process |
What does damaged foam feel like?
This part is easier to understand with experience. Healthy foam should feel reasonably consistent across comparable sections. I become cautious when one area is much thinner, harder, softer, or lumpier than the rest.
I use gentle pressure only. Squeezing aggressively can create the very damage I am trying to find. A hand check can reveal suspicious deformation, but it cannot prove buoyancy. If the internal material feels wrong, the next step is the manufacturer’s guidance or a qualified evaluation—not a confident guess.
What about stains and strong odors?
A muddy mark and a chemical spill are not the same problem. Oil, fuel, solvents, and unsuitable cleaners may affect fabric, coatings, adhesives, foam, or inflatable components. When I do not know what contaminated the jacket, I isolate it first and investigate second.
For ordinary cleaning, I follow the product instructions, rinse away salt as directed, and allow the jacket to dry in a ventilated place. I avoid strong chemicals and direct heat unless the manufacturer specifically permits them.
How do I check buckles, straps, and stitching?
A buckle can make a satisfying click and still be unreliable. That is why I call this the click-and-check rule: close it, then confirm it actually holds.
I use this sequence:
- Open every buckle and inspect both halves for cracks, distortion, missing pieces, corrosion, and sharp edges.
- Close it fully and confirm proper engagement.
- Apply a gentle functional check consistent with the manufacturer’s instructions.
- Move every strap through its normal adjustment range.
- Check that the adjuster holds the webbing instead of slowly slipping.
- Confirm that the webbing follows the correct route through each buckle and adjuster.
- Inspect strap edges for cuts, severe abrasion, melted areas, and pulled fibers.
- Look closely at the box stitches and reinforcement patches where straps join the jacket.
The anchor point often matters more than the middle of the strap. Strong webbing is not useful when the stitching that connects it to the jacket is coming apart.
I do not perform violent pulling or an improvised load test. I also do not repair a safety-critical connection with ordinary thread, tape, glue, cable ties, or a buckle that merely looks similar. A repair must be allowed for the exact product and completed by the appropriate method.
How do I inspect an inflatable life jacket?
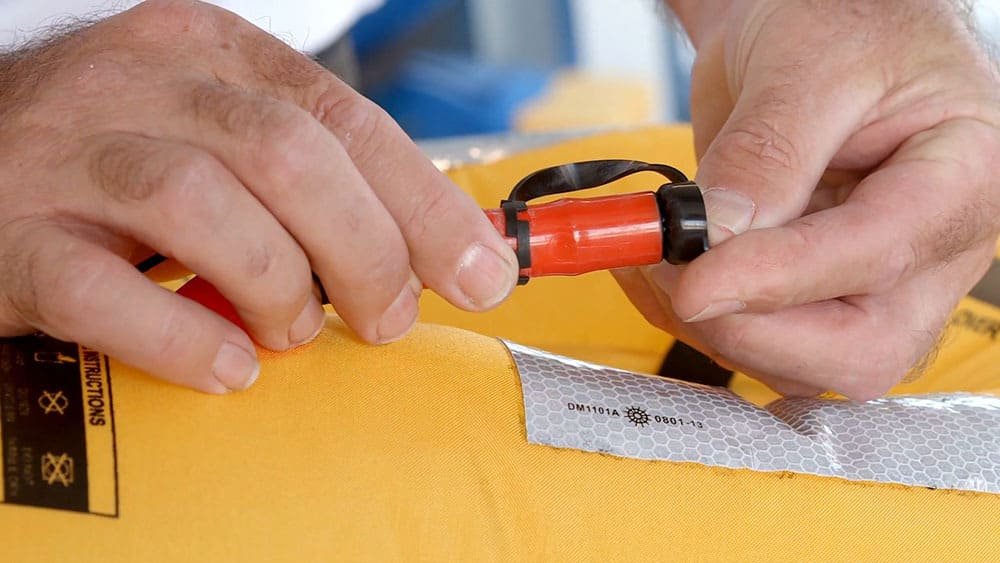
Whenever I train someone on inflatable jackets, I tell them to stop thinking of the product as an empty vest. Think of it as a compact machine. The bladder must hold gas, the cylinder must supply it, and the mechanism must release it at the right moment.
Transport Canada identifies the bladder, CO2 cylinder, inflation mechanism, status indicator, pull tab, and oral tube as essential inspection and maintenance points.3
My inflatable life jacket check
- Inspect the cover. I look for cuts, punctures, abrasion, loose seams, and signs of incorrect packing.
- Read the status indicator. Many inflators show green when ready, but I use the manual because indicator systems vary.
- Check the CO2 cylinder. It must be the correct cylinder, installed as directed, and free from unacceptable corrosion or damage.
- Check the inflator. Required components must be present, properly fitted, and within their specified service life.
- Find the manual pull tab. It should be attached, visible, unobstructed, and reachable while worn.
- Inspect the oral tube. The tube and valve should be accessible, undamaged, and closed correctly.
- Review the service record. I confirm that required inspections, maintenance, and component replacement have not been missed.
- Check the bladder when required. I perform a leak test only at the interval and by the method stated in the manual.
If the jacket has been inflated, I do not simply fold it and put it back. It must be rearmed and repacked with the correct model-specific components and procedure. A cylinder that screws into the fitting is not automatically the correct cylinder.
A pre-use glance also does not replace scheduled servicing. Some regulated inflatable life-saving appliances must be serviced at prescribed intervals by competent or approved personnel.4
How do I know whether the life jacket fits?
I have seen perfectly good life jackets fail the most basic real-world test: they were simply too large for the wearer. A life jacket is not luggage; “close enough” is not a useful size.
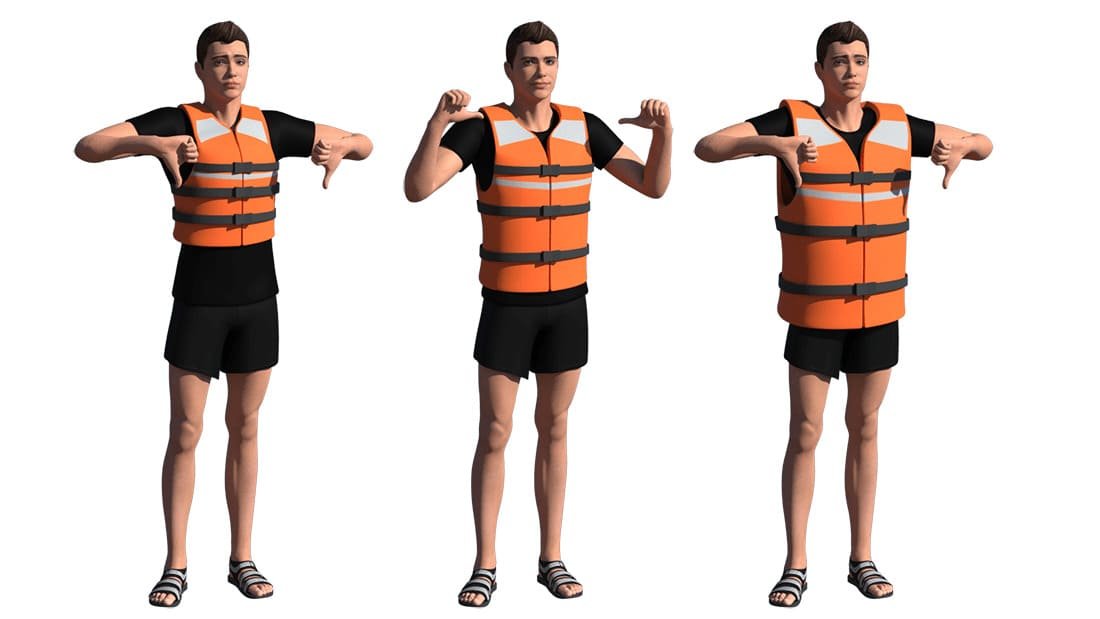
I ask the wearer to put it on over the clothing and equipment they will actually use. Then I:
- Confirm the correct orientation and donning method.
- Fasten every required closure.
- Tighten the straps evenly until the jacket is snug but comfortable.
- Check for twisted webbing and loose ends that may snag.
- Ask the wearer to raise their arms.
- Apply a gentle upward check at the shoulder area.
The jacket should not ride excessively toward the chin or ears, cover the face, or slip off. Official fitting guidance similarly emphasizes a snug fit and checking for excessive movement around the wearer’s head.5
Children require special care. I check the product’s stated size range, use every child-specific retention feature, and never treat an adult jacket as an acceptable substitute. A life jacket also does not replace close adult supervision.
Fit is only half of suitability. I also consider the activity, water conditions, distance from rescue, clothing, and compatibility with harnesses or other equipment. A recreational vest, paddlesports aid, work vest, rescue product, and SOLAS life jacket are not automatically interchangeable. SOLAS and the mandatory LSA Code establish specific requirements for equipment carried on covered ships.6
When do I remove a life jacket from service?
Over time, I have found that a traffic-light rule makes decisions easier.
Green: ready for use
The jacket is identifiable, clean, correctly fitted, fully functional, and free from significant damage. Required servicing is current.
Yellow: stop and verify
Something is uncertain: a faded label, unfamiliar repair, suspicious hard spot, unknown stain, overdue record, or component I cannot confidently identify. I isolate the jacket until the instructions, manufacturer, or qualified person resolves the question.
Red: remove from service
I stop use immediately when I find:
- A broken, cracked, missing, or unreliable buckle.
- A cut, badly frayed, melted, or detached strap.
- Open structural seams or exposed flotation material.
- Significant crushing, hardening, waterlogging, or deterioration.
- A punctured or leaking inflatable bladder.
- A missing, discharged, corroded, incompatible, or incorrectly installed inflation component.
- An inflator that does not show the specified ready condition.
- Contamination that cannot be addressed by the approved process.
- An unauthorized repair or modification.
- Missing information that prevents correct selection or use.
I mark and separate rejected or questionable equipment immediately. Otherwise, a helpful colleague may unknowingly return it to the rack five minutes later.
What do I record when managing many life jackets?
For a family boat, a quick personal check may be enough. For a rental fleet, rescue team, commercial operator, or institutional buyer, memory is not an inspection system.
I recommend recording:
| Record | Why I keep it |
|---|---|
| Manufacturer, model, size, and identifier | Ties the result to the correct unit |
| Inspection date and inspector | Creates accountability |
| Defect description and photographs | Makes the decision easier to review |
| Inflation components and service status | Tracks time-sensitive maintenance |
| Action taken | Shows whether the unit was isolated, serviced, or replaced |
| Final release decision | Prevents unresolved equipment from returning to use |
Patterns matter. If ten jackets show abrasion in the same place, I start asking about storage racks, transport packaging, product design, and handling—not just the ten individual defects.
What should bulk buyers verify before ordering?
For OEM projects and fleet purchases, inspection should begin before production. A buyer needs evidence that the delivered product matches the approved sample and the intended market—not just an attractive jacket and a folder named “certificates.”
I normally review:
- Product specification and approved sample records.
- Label artwork, warnings, user instructions, and required languages.
- Size range, performance classification, and intended application.
- Test reports or certificates tied to the exact model and standard.
- Issuing body, document scope, dates, and traceable references.
- Incoming inspection criteria for fabric, foam or bladder, webbing, buckles, stitching, and accessories.
- Lot identification and production traceability.
- Model-specific spares, rearming kits, service support, and replacement procedures.
- Packaging and storage controls during transport.
An unrelated quality-system certificate is not the same as product approval. The correct evidence depends on where and how the jacket will be used.
Frequently Asked Questions
How often should I inspect a life jacket?
I complete a basic check before every use and follow the manufacturer’s periodic inspection and servicing schedule. Commercial operators may also have documented intervals required by their vessel, workplace, or flag-state rules.
Can I use a life jacket with a small tear?
I do not decide by size alone. A short tear beside a strap anchor, seam, bladder, or flotation panel may matter more than a larger superficial scuff elsewhere. If the effect is unclear, I set the jacket aside.
Is hearing the buckle click enough?
No. I inspect the buckle, close it fully, and confirm that it stays engaged during a gentle functional check. Sound is useful feedback, not proof.
Should I inflate an inflatable life jacket before every use?
Usually not. The routine check normally covers the status indicator, cylinder, inflator, pull tab, oral tube, cover, and service condition. I perform bladder leak tests only at the interval and by the method specified for the model.
Does passing this checklist prove that the jacket is safe?
No. A pre-use check finds obvious problems; it does not certify buoyancy, turning ability, material strength, or regulatory compliance. Correct selection, fitting, servicing, and use still matter.
Is there one replacement age for every life jacket?
No universal age applies to every design and jurisdiction. I follow the product instructions and consider its condition, service history, frequency of use, storage, and environmental exposure.
Conclusion
The best inspection routine is not the longest one. It is the one people can remember and repeat: read, look, feel, fasten, fit, and decide.
After years of reviewing product details and inspection results, I have learned to respect small warning signs. A loose stitch beside a strap anchor, an uncertain inflator indicator, or a jacket that rides toward the wearer’s face is not a minor inconvenience. It is information—and good safety decisions begin by taking that information seriously.
For bulk procurement, OEM projects, and organized equipment programs, JIEKANG can support sample review, specification alignment, production quality-control planning, traceability, and model-specific documentation. Final selection and compliance should always be verified for the intended market, vessel, wearer, and application.
Transport Canada, "TP 14070 – Small Commercial Vessel Safety Guide": https://tc.canada.ca/en/marine-transportation/publications/tp-14070-small-commercial-vessel-safety-guide-2010?wbdisable=true. ↩
U.S. Coast Guard, "A Boater's Guide to the Federal Requirements for Recreational Boats": https://uscgboating.org/assets/1/AssetManager/Boaters-Guide-to-Federal-Requirements-for-Receational-Boats-20231108.pdf. ↩
Transport Canada, "Inspection and Maintenance of Inflatable Lifejackets and PFDs": https://tc.canada.ca/en/marine-transportation/marine-safety/ship-safety-bulletins/inspection-maintenance-inflatable-lifejackets-personal-flotation-devices-ssb-no-12-2019. ↩
UK Maritime and Coastguard Agency, "MGN 548 – Life-Saving Appliances Servicing Requirements": https://www.gov.uk/government/publications/mgn-548-mf-amendment-1-life-saving-appliances-servicing-requirements-for-solas-inflatable-life-saving-appliances-at-approved-service-stations/mgn-548-mf-amendment-1-life-saving-appliances-servicing-requirements-for-solas-inflatable-life-saving-appliances-at-approved-service-stations. ↩
Washington State Parks, "How to Properly Fit a Life Jacket": https://parks.wa.gov/about/news-center/field-guide-blog/how-properly-fit-life-jacket. ↩
International Maritime Organization, "Life-Saving Appliances": https://www.imo.org/en/ourwork/safety/pages/lifesavingappliances-default.aspx. ↩